
An apartment inspection is more than a search for cosmetic flaws. It is a chance to confirm that the unit matches what was promised, identify safety or maintenance problems, and create a dated record of its condition before your belongings hide the evidence. A careful walkthrough can also reveal whether the building and location will work in daily life.
Whenever possible, inspect before signing the lease and again when you receive possession. The first visit helps you decide; the move-in inspection establishes condition.
Prepare before the walkthrough
Bring a phone or camera, charger, flashlight, measuring tape, outlet tester if you know how to use one safely, and the landlord’s move-in condition form.
Review the lease and advertisement. Note promised repairs, included appliances, parking, storage, utilities, accessibility features, and furnishings. Save screenshots of material listing details.
Check the rules where the apartment is located. Tenant rights and inspection procedures vary by state and locality.
Begin outside the unit
Arrive at a time that resembles your normal routine if possible.
Test the route from the entrance to the unit. Can you carry groceries or move furniture through the doors and halls?
Listen. Nearby traffic, trains, businesses, mechanical equipment, dogs, and common areas may sound different in the evening than during a midday showing. Smell for persistent smoke, sewage, strong fragrance used to mask odors, or dampness.
Confirm which entrance, mailbox, parking space, storage cage, and laundry equipment are assigned to the unit. Photograph their condition too.
Document every room consistently
At the move-in walkthrough, begin each room with a wide photo from the doorway, then capture each wall, floor, ceiling, door, window, fixture, and defect. A slow video can show layout, but still photos are usually better for small damage. Include a ruler or coin beside scratches or holes when scale matters.
Write neutral descriptions: “three-inch scratch on bedroom floor near closet,” not “floor is terrible.” Note stains, nail holes, peeling paint, cracked tile, damaged blinds, missing hardware, and signs of prior patching. Do not omit a flaw because it seems minor. Small damage can become a security-deposit dispute later.
Keep original file metadata and back up the images. Send the completed condition report through a method that creates a timestamp and retain proof of delivery. Ask the landlord or manager to acknowledge it in writing.
Check doors, windows, and security hardware
Open, close, latch, and lock every exterior door and accessible window.
Inspect windows for cracked glass, damaged screens, failed seals, drafts, and signs of water intrusion.
Ask when locks were changed or rekeyed and who has access.
Test water and plumbing
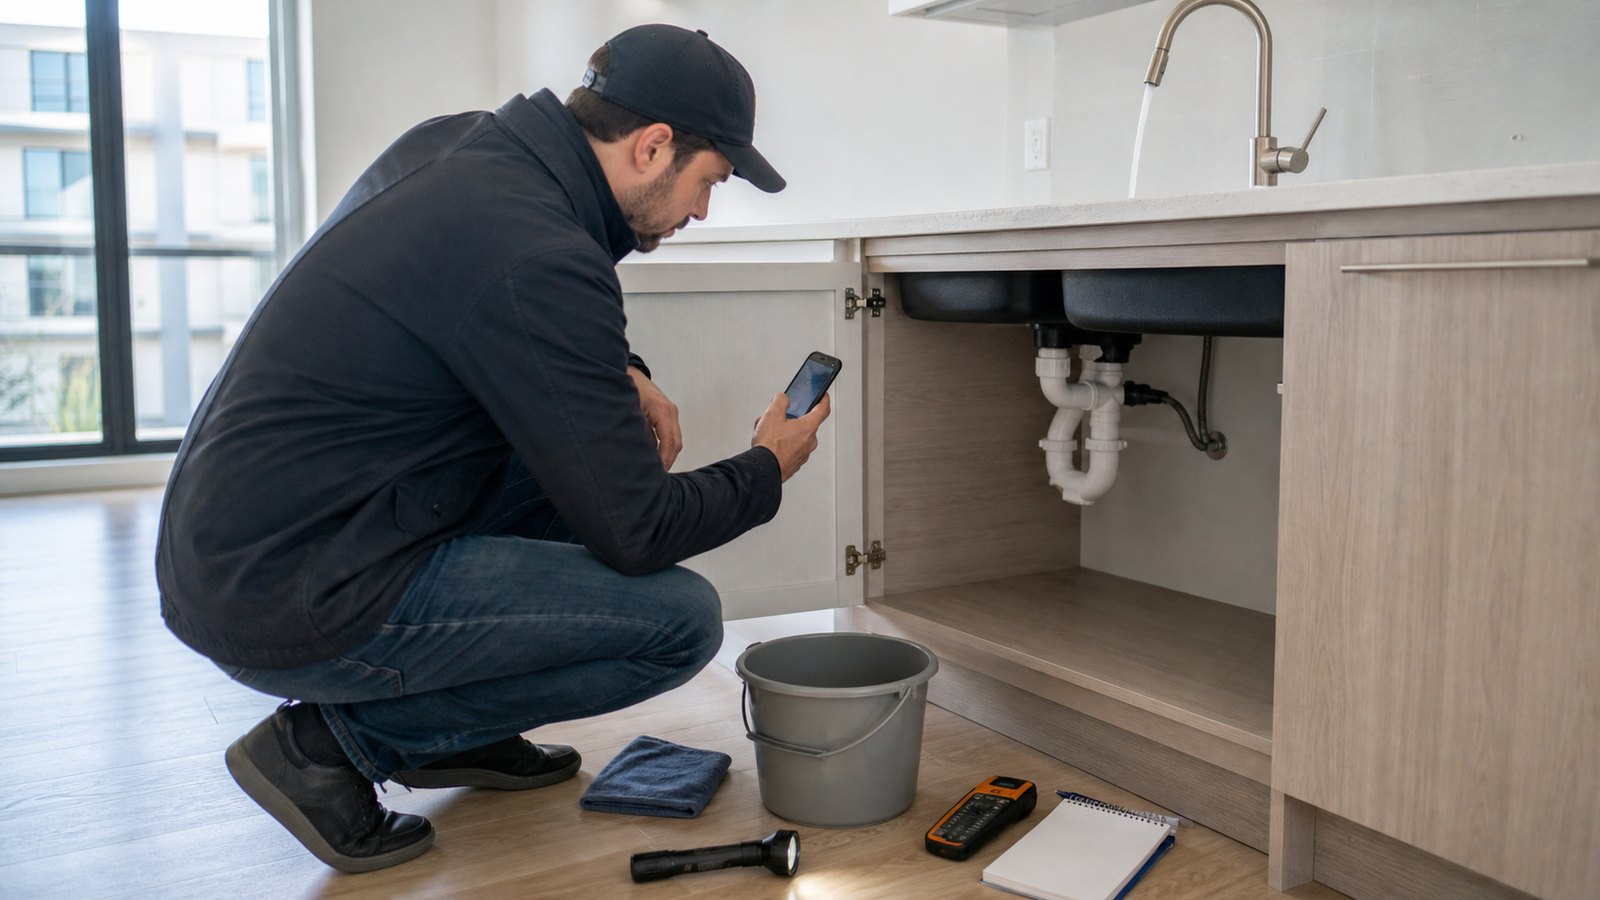
Run every faucet, including hot and cold water, long enough to observe pressure, temperature, drainage, leaks, discoloration, and unusual odor. Look inside cabinets while water runs.
Flush each toilet and verify that it refills and stops. Check whether the bowl rocks, the base leaks, or the shutoff valve appears damaged. Fill sinks or tubs slightly, then drain them to expose slow drainage. Operate the shower diverter and note whether water temperature changes unexpectedly.
Look for swelling, peeling material, soft flooring, stains, bubbling paint, musty odor, or fresh patches around bathrooms, windows, ceilings, and under sinks. These may have several causes; document the observation rather than diagnosing mold or a structural problem. Ask in writing about prior leaks and completed repairs.
Check electricity, lighting, and alarms
Turn on built-in lights and fans.
Locate the electrical panel if tenants are permitted access. It should not be blocked, and circuits should be clearly identified where required. Do not remove its cover or attempt repairs.
Identify smoke alarms and carbon monoxide alarms. Use their test buttons with permission and ask who is responsible for batteries, testing, and replacement. The U.S. Consumer Product Safety Commission explains that carbon monoxide is colorless and odorless and can be produced by fuel-burning appliances. Alarm requirements vary, but missing or nonworking equipment deserves immediate written follow-up.
Operate heating, cooling, and ventilation
Ask the manager to demonstrate the heating and cooling systems, even if the season makes one uncomfortable to run for long. Confirm which thermostat controls the unit, whether all rooms receive airflow or heat, and who replaces filters. Listen for severe vibration or unusual noise.
Run bathroom exhaust fans and the kitchen ventilation system. Hold a tissue near the grille to see whether air is moving, without opening covers. Check for heavy grease buildup or moisture stains.
If the apartment uses gas, ask how to recognize and report a suspected leak and where emergency contacts are posted. Never test gas equipment with a flame. If you smell gas, leave the area and follow local emergency guidance.
Inspect appliances one by one
Confirm that every included appliance is present and matches the lease. Turn on stove burners and the oven only with permission and proper ventilation. Check that control labels are readable and elements respond normally. Run the dishwasher through a short cycle if practical, watching for leaks.
Inspect the refrigerator for damaged seals, broken shelves, odor, and evidence of leakage. Verify that it cools, recognizing that an unplugged unit needs time.
For in-unit laundry, inspect hoses, lint areas, doors, and a short cycle. Record model and serial numbers for included appliances when useful. Note cleanliness separately from damage so the move-in cleaning agreement is clear.
Measure and verify practical fit
Measure large furniture, doorways, elevator openings, and the spaces intended for beds, tables, or appliances. Check the number and placement of outlets, internet connection options, curtain hardware, and storage depth. Verify that a large sofa can turn through the hallway before moving day.
Use your phone to check cellular reception in rooms where you will work or make calls.
Confirm utility responsibility, metering, billing method, and the process for starting service. Ask for typical costs only as context, because another household’s usage may differ significantly.
Consider older-building hazards
For most pre-1978 housing, federal law generally requires landlords to provide known information about lead-based paint and available records before a lease is signed, along with an EPA-approved pamphlet.
Do not scrape or sand suspect paint. Pay particular attention to deteriorating paint, friction surfaces around windows and doors, and areas accessible to children. Ask how damaged paint will be evaluated and repaired.
Turn observations into written follow-up
Divide findings into three lists:
- Must be resolved before occupancy: conditions affecting safe access, essential utilities, security, or habitability.
- Repair by an agreed date: nonemergency defects that still require correction.
- Existing condition only: cosmetic damage documented so you are not blamed later.
For each repair, state the location, problem, expected action, and target date. Ask how entry will be coordinated and whether completion will be documented.
If the unit differs materially from the lease or appears unsafe, pause before moving in or attempting repairs yourself. Obtain local tenant guidance.
Complete a final first-day check
Once you receive keys, photograph meter readings where relevant, confirm key counts, repeat essential tests, and inspect areas that were covered by furniture or construction materials. Submit the condition report by the lease deadline, even if some repairs remain pending.
Keep the lease, addenda, condition form, photos, repair messages, and payment records together for the entire tenancy. Update the file after major repairs or incidents.
A good inspection does not require technical expertise. It requires a repeatable method: observe, test only what is safe, document precisely, and obtain written answers. That record helps both tenant and landlord distinguish preexisting conditions from later damage and starts the tenancy with fewer assumptions.