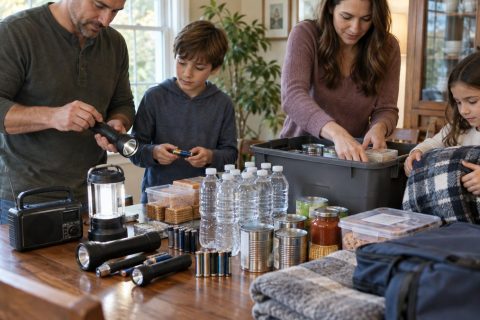
A useful emergency kit is not a random bin of survival gadgets. It is a short-term support system for the people and animals in a specific household when water, power, transportation, stores, or medical access are disrupted. The right contents depend on local hazards, climate, health needs, and whether the household may shelter at home or evacuate.
Start with likely scenarios
Review hazards where you live: hurricanes, wildfire, winter storms, earthquakes, flooding, extreme heat, tornadoes, or extended outages. Local emergency-management agencies publish evacuation zones, shelter information, alert systems, and hazard-specific guidance.
Consider what usually fails during these events. A storm may interrupt electricity and roads; wildfire may require departure with little notice; a boil-water advisory changes how you drink and prepare food. Build around consequences, not dramatic images.
Write two plans:
- Shelter at home: supplies remain organized and accessible for several days without normal utilities.
- Leave quickly: essential items fit in portable bags or bins that household members can carry.
A single heavy container in the basement is not an evacuation kit. Likewise, a small backpack may not hold enough water for sheltering at home.
Plan water first
Estimate drinking and hygiene water for every person and every planned day. Ready.gov uses one gallon per person per day as its starting benchmark, but climate, pregnancy, illness, activity, and pets may increase the household requirement.
Use commercially bottled water or appropriate food-grade containers. Store it in a cool area away from fuels, pesticides, and direct sunlight. Do not use containers that previously held toxic chemicals. Follow manufacturer guidance and public-health instructions for storage and replacement.
Water is heavy: one U.S. gallon weighs more than eight pounds.
For treatment, follow current CDC or local instructions.
Choose food the household will actually eat
Select shelf-stable foods that require little water, fuel, and preparation. Examples include canned beans or fish, nut or seed butter, crackers, ready-to-eat grains, fruit cups, shelf-stable milk, and familiar snacks. Account for allergies, diabetes, swallowing needs, religious practices, and infant feeding.
For cans without pull tabs, store a hand-operated opener that everyone can use.
Rotate emergency food into normal meals before it expires and replace it during routine shopping. Record expiration or best-quality dates on an inventory sheet.
Secure medicines and health supplies
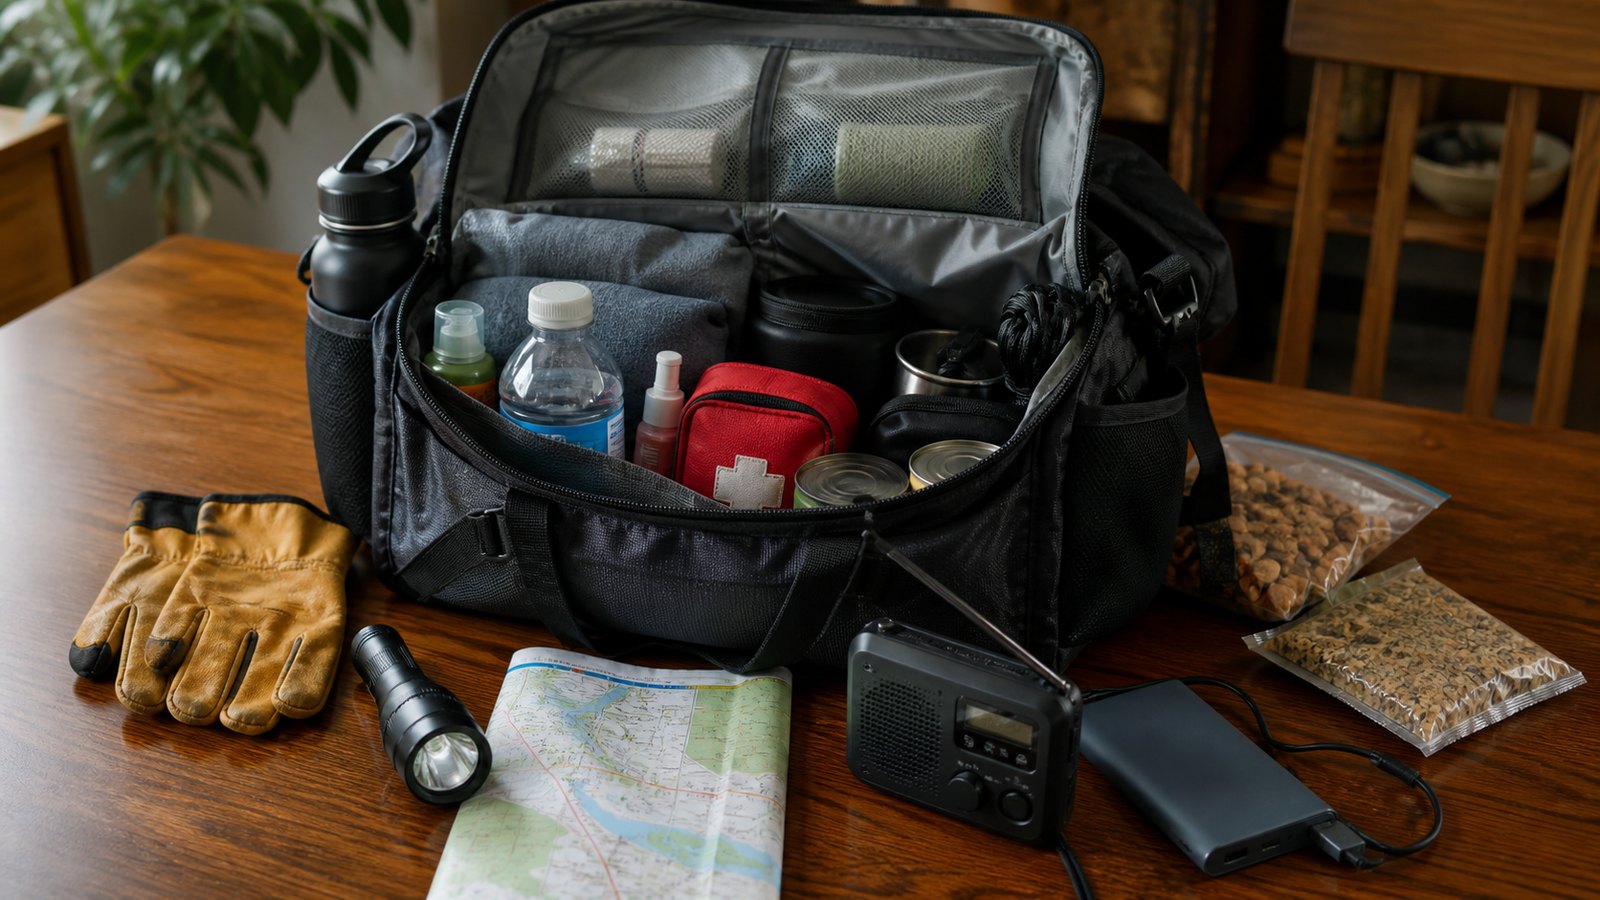
List each household member’s prescriptions, doses, allergies, diagnoses relevant in an emergency, pharmacy, prescriber, and insurance details. Ask healthcare providers and insurers how to maintain an emergency supply within applicable rules.
Include necessary nonprescription medicines, spare glasses, hearing-aid batteries, mobility-device supplies, glucose equipment, ostomy supplies, masks, menstrual products, and other daily health items. Check expiration dates and packaging at least twice a year.
A first-aid kit belongs in the emergency supplies, but it is not a substitute for training or professional care. Add a first-aid reference and keep CPR and first-aid skills current.
Add light, power, and communication
Store flashlights or headlamps for each area where people may move. Headlamps keep hands free.
Keep spare batteries in original packaging or with terminals protected from contact. Match batteries to devices and inspect them for leakage. Rechargeable power banks should be charged on a schedule. A car charger may help, but never run a vehicle in an enclosed space.
Keep an off-grid way to hear local instructions, such as a radio operated by replaceable batteries or a crank. Phone alerts should be enabled as well; places exposed to severe weather may benefit from a dedicated weather receiver.
Agree on an out-of-area contact. During a local emergency, text messages may work when calls are congested. Every household member should know meeting locations and the communication plan.
Prepare for sanitation and loss of utilities
Build a sanitation pouch around the household’s real routines. Soap, hand cleaner, bathroom paper, durable disposal sacks, closures, protective gloves, wipes, and personal-care items cover many short interruptions. Where local planners recommend an emergency waste method, add the right materials and written directions. Leave disinfectants in their labeled packages and never combine cleaners.
Include basic tools only if household members can use them safely: an adjustable wrench or shutoff tool, pliers, duct tape, utility knife, and work gloves. Learn utility shutoff procedures from the utility company before an emergency.
A multipurpose fire extinguisher may be appropriate if residents know its location and proper use.
Protect documents and useful information
Place copies of identification, insurance details, medical information, emergency contacts, household inventory, and essential financial records in a water-resistant pouch. A secure encrypted digital copy stored separately can improve resilience. Avoid carrying unnecessary full account numbers or passwords in plain text.
Include some cash in small denominations because payment networks and ATMs may be unavailable. The amount should fit household circumstances and be stored securely.
Local maps matter when phones or familiar roads are unavailable. Mark evacuation routes, shelters, hospitals, and meeting places. Do not assume the normal route will remain open.
Customize for children, older adults, disabilities, and pets
Emergency planning should preserve independence and routine where possible.
For babies and children, include age-appropriate food, diapers, wipes, medicine-dosing tools, and quiet activities. Update clothing sizes and supplies as children grow.
For pets, pack food, water, bowls, medication, waste supplies, leash or harness, carrier, vaccination records, identification photos, and veterinarian contacts.
Organize the kit for speed
Use sturdy, water-resistant bins for home supplies and backpacks or smaller containers for evacuation. Group contents into modules:
- Drinking supplies together with any treatment directions.
- Low-preparation meals, snacks, and eating tools.
- Health items and the first-aid module.
- Illumination, stored power, charging, and radio gear.
- Toileting, cleanup, and personal-care materials.
- Route information, records, and a small cash reserve.
- Layers and protection suited to local weather.
- Animal care or equipment unique to household members.
Label bins clearly, but avoid advertising valuables where outsiders can see them. Place frequently checked items near the top. Store supplies above expected flood levels, away from temperature extremes, and in a location accessible to household members. If earthquake risk is significant, do not stack heavy bins where they can fall.
Build gradually without wasting money
Begin with items already owned: flashlights, blankets, a radio, basic tools, and shelf-stable food. Add water and medical essentials first.
Quality matters most for critical equipment, but expensive is not automatically better. Test flashlights, radios, chargers, and can openers. Confirm that masks fit as intended and that everyone can lift the evacuation bag. Remove gadgets that no one understands.
Maintain a written inventory with quantity, location, expiration or recharge date, and special instructions. This prevents buying duplicates while missing essentials.
Include weather and protection items
Pack sturdy shoes, work gloves, weather-appropriate layers, rain protection, blankets or sleeping bags, sun protection, and dust masks appropriate to local guidance. A whistle can signal for help.
Include copies of local emergency instructions for the hazards you identified. Generic preparedness advice should not override an evacuation order, wildfire warning, or chemical-emergency direction.
Maintain and practice
Review the kit every six months and after every use. Rotate food and water as directed, replace expired medicine and first-aid supplies, charge power banks, test radios, update documents, and change clothing sizes. Check for heat, moisture, pests, corrosion, and battery leakage.
Run a short household drill. Turn off lights, find the flashlights, tune the radio, locate the document pouch, and practice loading evacuation supplies. Time how long it takes without creating panic.
Preparedness is also a plan. Know how alerts arrive, where you will go, how the household reconnects, and what each person carries. A well-maintained kit supports those decisions.
The practical kit is the one matched to your household, stored where it can be reached, and reviewed often enough to work. Secure hydration, simple meals, daily health needs, illumination, contact options, and critical records first. Household-specific additions can then turn a broad checklist into dependable support.