
A garment can look polished on a hanger and still reveal weak construction once it is worn, washed, or put under tension. Brand name, weight, softness, and a tidy sales-floor presentation are not reliable substitutes for inspection. The useful question is not simply, “Is this well made?” but, “Is it made appropriately for what I expect it to do?” A floaty blouse, work shirt, swimsuit, and tailored coat need different fabrics and construction methods.
1. Start With the Fabric’s Intended Job
Read the fiber-content and care labels, then handle the cloth. Fiber names provide clues, but the finished fabric matters too: yarn, weave or knit structure, thickness, stretch, and finishing all affect performance. A lightweight fabric is not automatically poor quality, and a heavy one is not automatically durable.
Ask whether the material suits the garment. A summer shirt may benefit from a breathable, slightly open construction, while pants intended for frequent wear usually need enough density and recovery to resist bagging. Hold an unlined section toward normal light. Some translucency may be intentional, but unexpected thin patches or uneven density can signal inconsistency. Gently scrunch the fabric and release it to see how it wrinkles. Stretch it lightly across and along the grain, then check whether it returns close to its original shape.
2. Check Grain, Drape, and Pattern Alignment
Let the garment hang freely. Center-front and center-back lines should generally fall straight, side seams should not spiral toward the front or back, and legs or sleeves should not twist without a design reason. On woven clothing, obvious skew can indicate that pieces were cut off grain or distorted during assembly. Knits can also torque, although their loops make grain less visually obvious.
Use stripes, plaids, checks, or repeated motifs as guides. Strong horizontal lines should usually meet cleanly at prominent center-front openings and visible side seams. Pockets should appear balanced, and paired pieces such as lapels should look intentional together. Perfect matching at every seam is neither always possible nor necessary: darts change angles, curved armholes interrupt repeats, small-scale prints disguise transitions, and deliberately asymmetric designs follow different rules. Prioritize high-visibility junctions where a mismatch would look careless.
Also check nap or one-way shine on velvet, corduroy, brushed fabrics, and satin-like materials. Adjacent panels that reflect light in opposing directions may look like different colors unless the contrast is intentional.
3. Turn the Garment Inside Out and Read the Seams
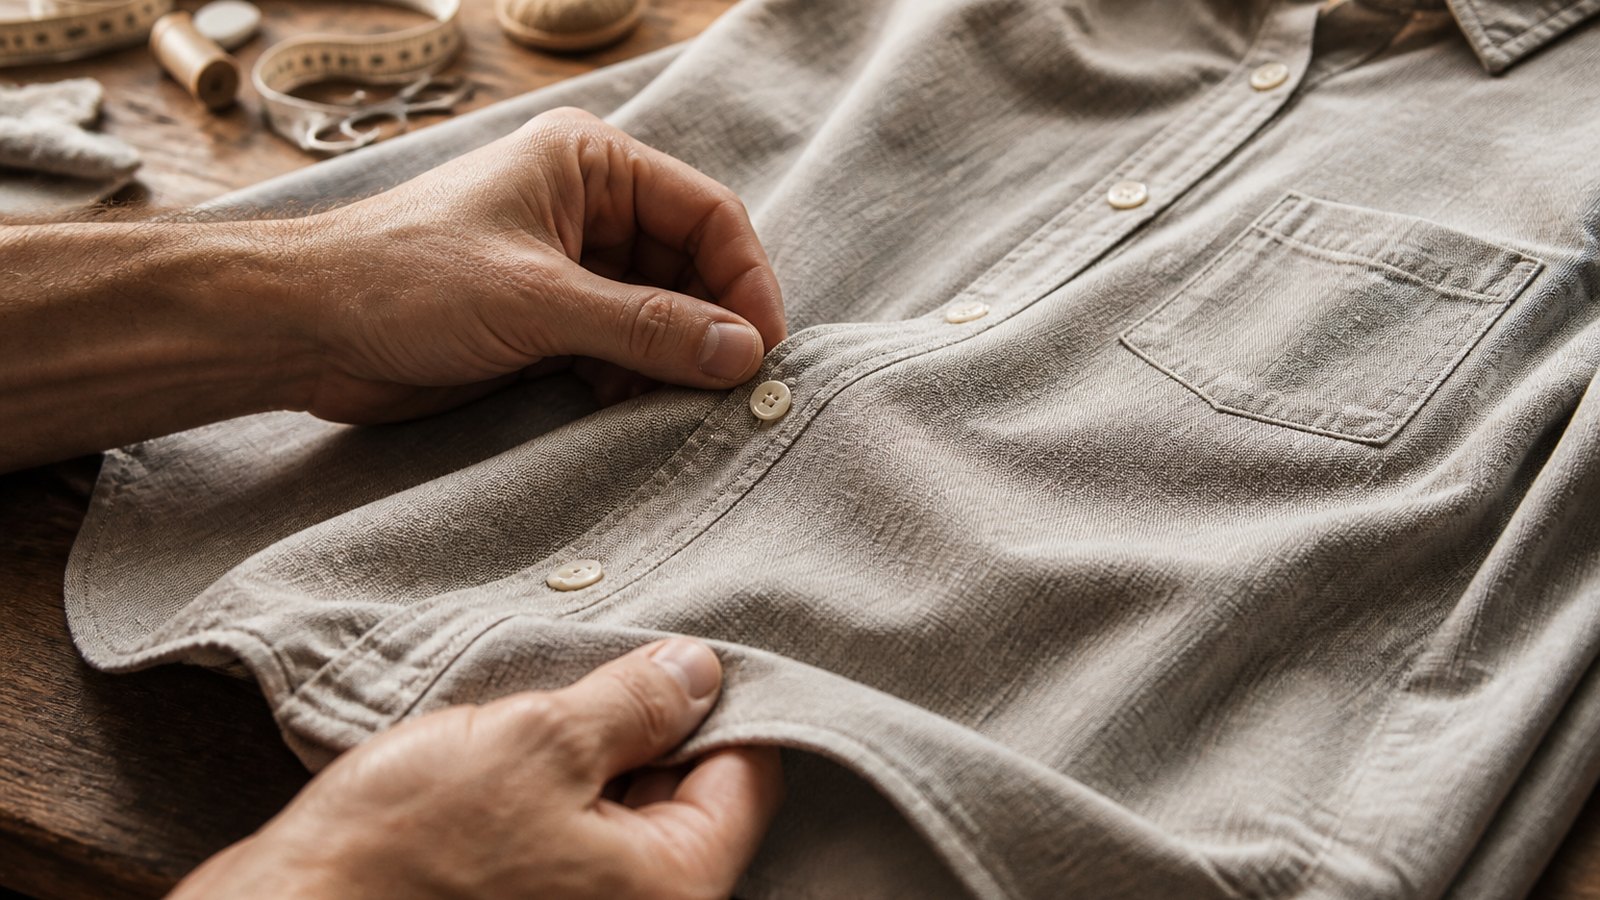
The inside often shows how thoughtfully the garment was assembled. Seams should be secure, reasonably straight, and suitable for the material. Their allowances should be wide enough to hold without fraying away, unless the garment uses a narrow enclosed construction designed for that fabric. Raw edges on fabric that ravels should be controlled with overlocking, binding, a French seam, a flat-felled seam, or another appropriate finish.
Run your fingers along the seam rather than pulling hard. Watch for gaps, skipped stitches, loose thread loops, puckering, rippled edges, or areas where the fabric has already begun to fray. Curved seams should lie smooth rather than forming sharp bumps. Pressing matters: allowances should sit flat and not create ridges visible from the outside.
Examine Stitching and Hems Up Close
Stitches should look balanced, with no obvious bobbin loops on the face or top thread pulled to the underside. Length and thread weight should fit the fabric. Very short stitches can perforate delicate material, while excessively long stitches may not secure a stressed seam. Decorative topstitching should be even because it is meant to be seen; hidden utility stitching needs to be secure more than ornamental.
4. Inspect Stress Points and Fasteners
Focus on places that receive repeated force: pocket corners, belt loops, underarms, crotch seams, back vents, placket ends, zipper bases, and the top of a split. Look for bar tacks, extra rows of stitching, stays, patches, or other reinforcement appropriate to the garment. Reinforcement should secure the load without making the area stiff or causing the surrounding fabric to tear.
Test every closure gently. Zippers should travel smoothly without catching the fabric, and the tape should be stitched evenly. The opening should lie flat when closed. Buttons should feel secure, with enough thread or shank space for the fabric thickness; spare thread ends should not unravel when touched. Buttonholes should have dense, intact stitching and clean openings rather than fuzzy cuts that are already widening.
5. Look Beyond the Presence of a Lining
A lining can improve comfort, opacity, drape, and the appearance of the interior, but its presence does not automatically indicate quality. It should be compatible with the shell in weight, stretch, and care requirements. A rigid woven lining inside a stretchy garment may restrict movement; a heavy lining can distort a light shell.
6. Use the Fitting Room as a Movement Test
Correct construction cannot compensate for a cut that does not suit your body or intended activity. Fasten the garment fully and examine it from front, side, and back. Vertical grain or design lines should generally remain vertical; horizontal lines should stay level. Radiating wrinkles, gaping, collapsing collars, pulling pockets, or a zipper under visible tension identify where the garment lacks room or balance.
Then move as you would while wearing it. Sit, bend, reach forward and overhead, take a long step, and use stairs if practical. Seams should not bite, closures should remain flat, and the garment should return to position without constant adjustment. For fitted clothing, some tension is expected; the issue is whether it restricts normal movement or concentrates force at a seam or fastener.
Distinguish fixable fit from structural mismatch. Hem length and sometimes waist placement can be altered relatively simply. Twisted legs, badly positioned armholes, severe pulling across the seat, or a jacket that collapses through the chest may require complex changes. Quality includes enough functional ease for the garment’s purpose, not merely a smooth pose in front of a mirror.
7. Make Sure the Care Burden Fits Your Life
Treat the care label as part of the design. Compare the instructions for the shell, lining, trim, and any removable pieces. Mixed materials can behave differently when washed or dried, so a well-constructed item can still be impractical if its components demand care you will not provide.
Consider whether you are willing to hand wash, reshape, air dry, iron, steam, or arrange professional cleaning as directed. Pale colors, textured surfaces, pleats, coatings, and embellished areas may require more maintenance even when the stitching is excellent. Check whether the garment is already distorted, shrunken-looking, color-transferred, or damaged from store handling. Compatibility with your routine is a form of usable quality.
8. Separate Construction Quality From Personal Preference
Finish with a balanced judgment. Construction quality concerns whether choices are functional, durable, controlled, and appropriate to the material and design. Personal preference concerns whether you enjoy the hand feel, silhouette, visible topstitching, raw-edge styling, lining level, fabric weight, or amount of structure.
The two can overlap without being identical. A deliberately frayed denim edge can be securely engineered. An unlined wool jacket can be beautifully finished. A hand-finished irregularity may reflect process rather than neglect. Conversely, a garment can have immaculate pattern matching and still be uncomfortable, difficult to care for, or unsuitable for its purpose.